
On this page
Check the codec before you buy a bigger streaming server
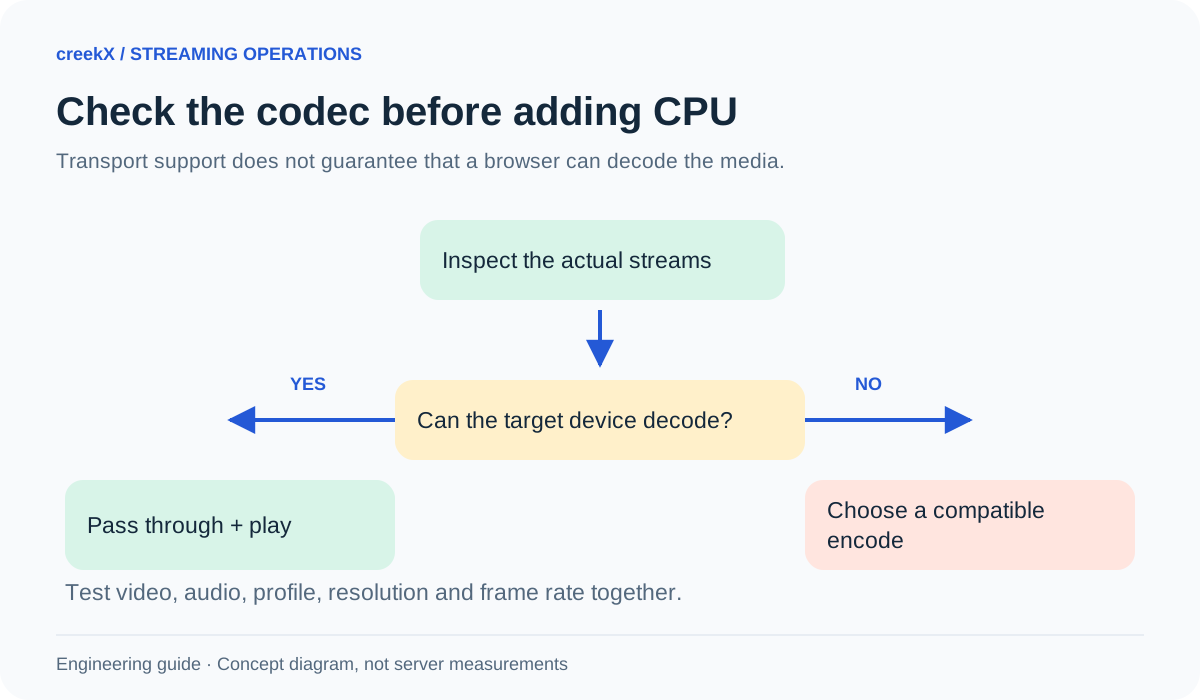
A camera sends video, the server receives bytes, and the viewer still sees a black picture. More CPU may not fix that. Before upgrading the server, check whether the viewer can decode what you are sending.
The useful question is not simply “does it support H.264?” You need the actual video settings, the audio format, the playback method and the target device. Treat them as one combination to test.
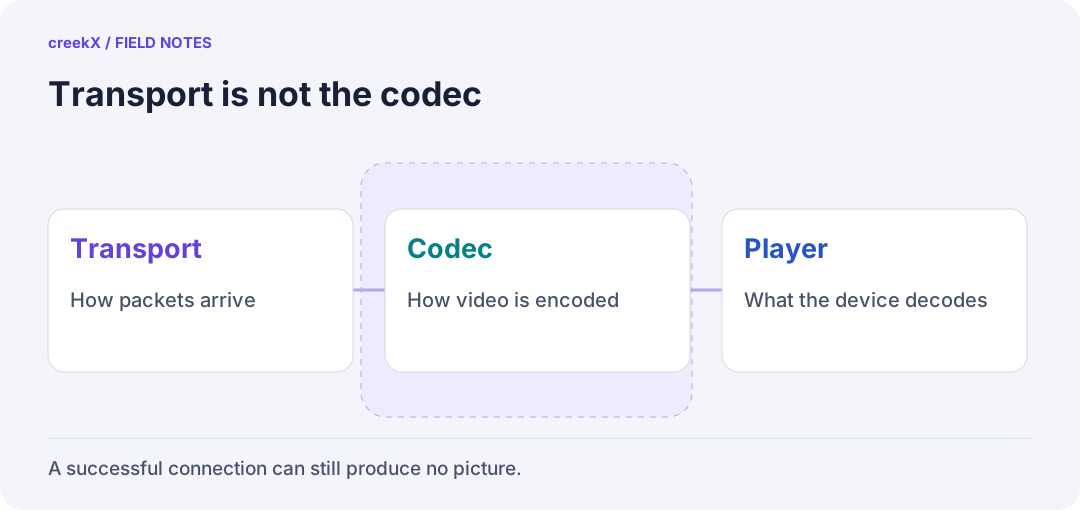
- TransportHow packets arrive
- CodecHow video is encoded
- PlayerWhat the device decodes
Separate transport from codec
RTMP, RTSP, SRT, WHIP and HLS describe parts of the delivery path. A codec describes how the picture or sound is encoded. Moving media between transports does not automatically change its video and audio formats.
Pass-through avoids encoding the picture again. Transcoding decodes and creates a new encoded version. They have different costs. A stream can be easy for the server to forward yet unsuitable for a particular viewer. Read the live transcoding guide before assuming every conversion includes a re-encode.
Inspect a short test recording
Work with a local file you are allowed to use. It is easier to share a small description of that file than a private camera URL or publishing key. This command reads metadata; it does not change the file:
ffprobe -v error \
  -show_entries stream=codec_type,codec_name,profile,width,height,pix_fmt,avg_frame_rate,sample_rate,channels \
  -of json test-recording.mp4
The official ffprobe documentation explains stream selection and JSON output. Record both the video and audio entries. A file extension is a container clue, not a complete description of the contents.
- Video: codec, profile, dimensions, frame rate and pixel format.
- Audio: codec, sample rate and channel count. Check whether an audio track exists at all.
- Context: encoder version, source model, playback method and the device used for the result.
A saved recording may have been converted by a processing step. Confirm whether it represents the original ingest or a new output. Do not infer the live input's codec from a file that was deliberately transcoded.
Ask the browser, then test the picture
For a player you control, the Media Capabilities API can return support, expected smoothness and power-efficiency information for a specified configuration. Those are useful signals, not a guarantee about a live network session. Feature-detect the API and keep an explicit fallback if it is unavailable.
The MDN decodingInfo reference documents the configuration and returned fields. Supply the real codec string, dimensions, bitrate and frame rate. Testing a different profile or a much smaller picture answers a different question.
Always follow with actual playback. Try the same short source on the required phone and desktop, with audio enabled by a viewer action. Record a failed start separately from poor playback after a successful start.
Choose the cheapest change that meets the requirement
- Change the source settings if the encoder can produce the needed format directly. Keep a copy of the original configuration for rollback.
- Choose the right playback path if the devices and latency needs allow it. Compare the same source rather than changing several inputs together.
- Transcode deliberately when the source cannot provide the required format. Measure CPU, picture quality, sound and added delay under the intended workload.
Do not label H.265, AV1 or any other codec universally good or bad. Device, operating system, browser and delivery details change the answer. Nor should a server feature list be read as proof that every codec works with every ingest and viewer combination.
Use creekX for a controlled comparison
In creekX, start with one stream and a known source. Use the library detail view to inspect a processed video where available, then compare the stream monitor and watch link on the target device. The video library guide and several-qualities guide explain the separate workflows. HLS quality outputs are not a promise that every WebRTC viewer receives an adaptive ladder.
If the media format is suitable but the phone still will not start, use the browser playback checklist. Keep the final result narrow: name the source, settings, playback path and devices that passed. The streaming server guide connects these choices to the rest of your installation.
Implementation check
Build a codec acceptance row
You need: An original source sample and the actual target browser/device.
- Probe both video and audio tracks. Keep input metadata distinct from any converted library copy.
- Play the same source using the intended delivery method and a viewer action that enables sound.
- Save codec, profile, pixel format, frame rate, audio format, device, browser and the observed result together.
Pass when: The row describes a specific playable combination; it does not claim universal codec support.
If it fails: If the connection succeeds but frames do not decode, compare source settings before changing network capacity.
Frequently asked questions
Does changing RTSP to WebRTC automatically change the codec?
Not necessarily. Transport conversion and transcoding are different operations. Check the actual media format produced by the configured path.
Can a browser capability check guarantee smooth playback?
No. Capability information helps choose a test, but actual source parameters, network conditions and device load still matter. Confirm with playback on the required devices.
Choose what happens to the file next
- MKV vs MP4 for recording and delivery — Separate the container decision from the video codec.
- Plan video on demand after a live event — Check the saved file, viewer access and playback path.
- Set up an OBS feed to your own server — Check the encoder settings that produce those tracks.